Snowflake continues to impress with additional features being added at a rapid pace. The recent Large Language Model (LLM) announcement at Snowday with Snowflake Cortex is one of the many new features headed our way from Snowflake!
One recently added feature is the ability to add a Streamlit app directly to your Snowflake instance. Note that as of the time of this article, native Streamlit apps are only Snowflake accounts hosted on AWS. Additional details about Streamlit in Snowflake can be found in the Snowflake Documentation.
This article will show my preferred method for adding a simple Streamlit app to Snowflake and how to share the app with other users.
What is Streamlit?
Streamlit is a set of Python libraries that facilitate the rapid development of web applications. With built-in forms, file uploaders, charts, and many other tools, Streamlit takes a lot of the headache out of building an application and makes it simple to get a functional app set up quickly. The Streamlit site has a get set of documentation walking through installation and code references for developing apps.
Why Streamlit in Snowflake?
Snowflake announced its purchase of Streamlit in March 2022. So the next natural progression was for Snowflake to integrate Streamlit into its infrastructure – I would equate that to some of the other “marriages” in the tech world such as Microsoft’s SQL Server and .NET frameworks coupling together so well. Developers had already been using Streamlit to build apps that connected to Snowflake as a data source. With the two integrated, the data never has to leave Snowflake to run a Streamlit app saving on data costs.
Streamlit Setup in Snowflake
With the addition of Streamlit in Snowflake, the Snowsight UI received an upgrade to allow users to add a Streamlit app directly from Snowsight. Doing so requires a few things to be setup first such as a stage to host the Python files and a virtual warehouse for the app to use when running. Using the UI to set up the app also creates a very oddly named Streamlit app – resembling a bunch of random letters and numbers. While this is a quick way to add an app, I prefer to set one up manually and add what’s needed in an organized manner.
Snowflake Object Setup
Before creating the Streamlit app, the pre-requisite data objects must be in place. While it’s not necessary to set up everything I’ll show here, creating Streamlit-specific objects is my preference because it helps keep things orderly. The setup scripts are an extension of the demo setup I used in a previous demo.
Database and Warehouse Setup
For a native Streamlit app to run within Snowflake, the application needs a database to store the Python code and a warehouse for compute resources. I’ll add these using the ACCOUNTADMIN role, then transfer the ownership to my ST_DEMO_ROLE.
USE ROLE ACCOUNTADMIN;
/*CREATE NEW STREAMLIT DB*/
CREATE DATABASE STREAMLIT_DB;
/*CREATE NEW XSMALL VWH FOR STREAMLIT*/
CREATE WAREHOUSE STREAMLIT_XS_WH
    WAREHOUSE_SIZE=XSMALL;
/*XFER OWNERSHIP TO DEMO ROLE*/
GRANT OWNERSHIP ON DATABASE STREAMLIT_DB
    TO ROLE ST_DEMO_ROLE;
GRANT OWNERSHIP ON WAREHOUSE STREAMLIT_XS_WH
    TO ROLE ST_DEMO_ROLE;
Schema and Stage Setup
Next, I’ll create two new schemas in the STREAMLIT_DB database, one will include an internal stage where the Python files will be stored for the Streamlit app, and the other will be used for the app itself. The new stage will also have the DIRECTORY feature enabled to allow browsing of the files from Snowsight UI. Notice that since I’ve transferred ownership to ST_DEMO_ROLE, I’ll switch to that role for the next batch of code.
/*SWITCH ROLE*/
USE ROLE ST_DEMO_ROLE;
/*SWTICH DB AND WAREHOUSE*/
USE DATABASE STREAMLIT_DB;
USE WAREHOUSE STREAMLIT_XS_WH;
/*CREATE NEW SCHEMA FOR STAGES*/
CREATE SCHEMA STREAMLIT_STAGES;
/*SWITCH TO SCHEMA*/
USE SCHEMA STREAMLIT_STAGES;
/*CREATE STAGE WITH DIRECTORY*/
CREATE STAGE MY_FIRST_STREAMLIT_STG
    DIRECTORY = (ENABLE=TRUE);
/*CREATE NEW APPS SCHEMA*/
CREATE SCHEMA STREAMLIT_APPS;
Streamlit App Setup
With the database-specific objects in place, the next step is to create the Streamlit object. I’ll discuss adding the Python scripts in the next section; however, the STREAMLIT object can be created before uploading or adding the Python file. Creating a STREAMLIT object is no different from creating any other object in Snowflake as it can be done with a simple “CREATE STREAMLIT” statement.
In the code block below, I’m first switching to the new schema created in the section above and then creating my STREAMLIT object in that schema. Notice the different settings in the create statement:
ROOT_LOCATION
The ROOT_LOCATION setting defines the stage used to store the .py files for the Streamlit app. The value is prefixed with “@” and uses the fully qualified path to the stage created above.
MAIN_FILE
MAIN_FILE specifies the name of the root Python file for the application. The value is only the file name including the extension (.py) that is stored in the stage specified in the ROOT_LOCATION setting. The referenced MAIN_FILE does not have to be in the stage yet for the command to work to build the Streamlit; however, without the main file being present in the stage the application will not load.
QUERY_WAREHOUSE
The query warehouse is the virtual warehouse for the app to use when running the app, including any queries against the Snowflake database. The sample below references the warehouse setup in the previous steps.
/*CHANGE SCHEMA/*
USE SCHEMA STREAMLIT_APPS;
/*CREATE STREAMLIT APP*/
CREATE STREAMLIT MY_FIRST_STREAMLIT
ROOT_LOCATION = '@STREAMLIT_DB.STREAMLIT_STAGES.MY_FIRST_STREAMLIT_STG'
MAIN_FILE = 'my_first_streamlit.py'
QUERY_WAREHOUSE = STREAMLIT_XS_WH
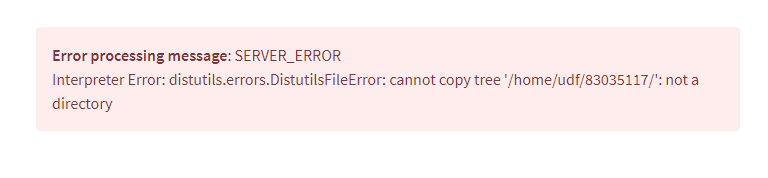
COMMENT = 'Streamlit testing app';Executing the code block above will create the Streamlit application in Snowflake, which can be seen under Streamlit in Snowsight. Even though the app is created the code to run it is not ready, so trying to execute will result in an error.

MY_FIRST_STREAMLIT.PY
To correct the error and allow the application to run, the my_first_streamlit.py file needs to be added to the stage created above. But what goes into the file? Thankfully, because all of the libraries are already loaded in Snowflake for Streamlit, there’s not much needed to create the app. For this initial demo, I will not have the app run any Snowflake queries, only write a header and “Hello, world!” to the screen.
Since an extensive IDE isn’t needed to create Python files, simply open an empty text file in any text editor and save the file as “my_first_streamlit.py”. Next, add the following lines of code to the file and save the file.
#IMPORT STREAMLIT LIBRARY
import streamlit as st
#WRITE THE HEADER
st.header("My First Streamlit App")
#WRITE HELLO WORLD
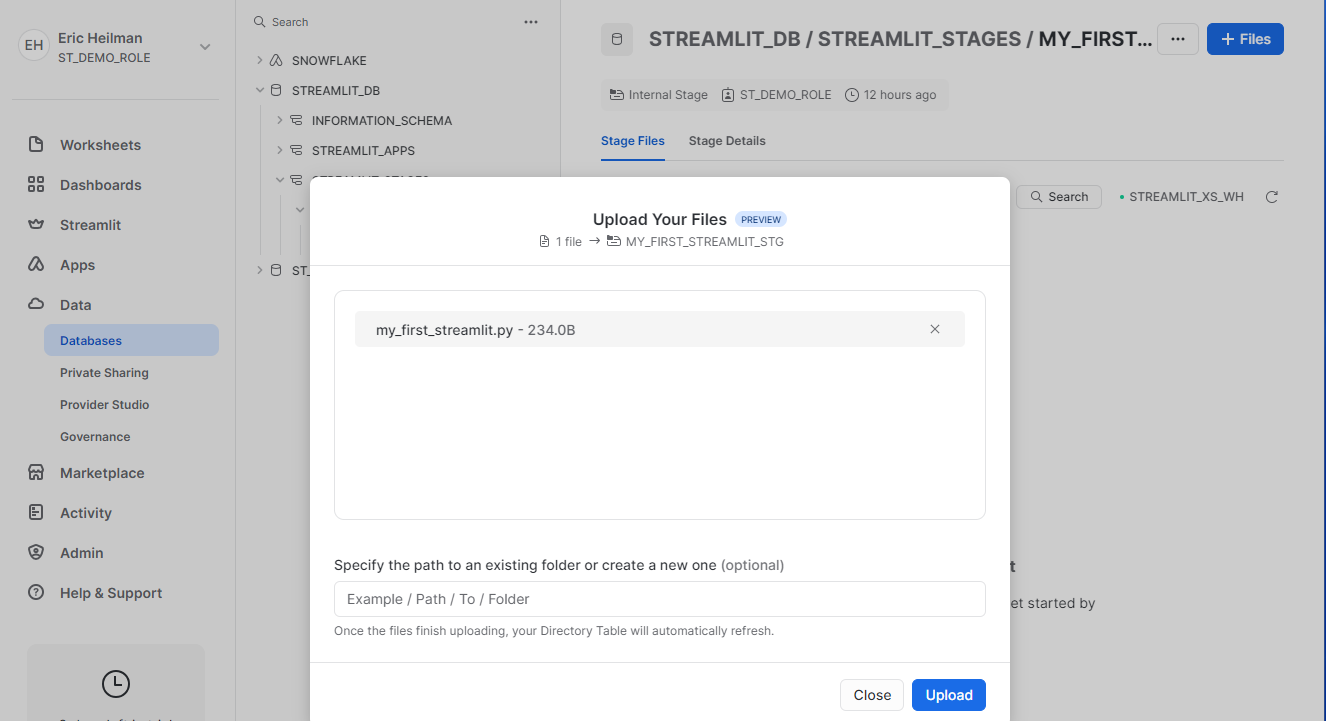
st.write("Hello, world!")With the file saved, upload it to the stage location specified in the CREATE STREAMLIT command above. Once the file is uploaded, navigate back to the Streamlit option in Snowsight and click on the MY_FIRST_STREAMLIT app in the list which will load the app!

Sharing the App With Other Account Users
Now the app is running natively in Snowflake and it can be shared with other users in the same account by granting at least the following:
- Usage on the STREAMLIT_DB
- Usage on the STREAMLIT_APPS Schema
- Usage on the STREAMLIT app itself
ST_APP_USERS Role
To show how this works, first I’ll set up an ST_APP_USERS role and add my user account to it. The role will not have any privileges granted when first created, so when I navigate to the STREAMLIT apps, I won’t see any in Snowsight.
/*CREATE APP USER ROLE*/
USE ROLE SECURITYADMIN;
CREATE ROLE ST_APP_USERS;

/*ADD USER TO ROLE*/
GRANT ROLE ST_APP_USERS TO USER EHEILMAN;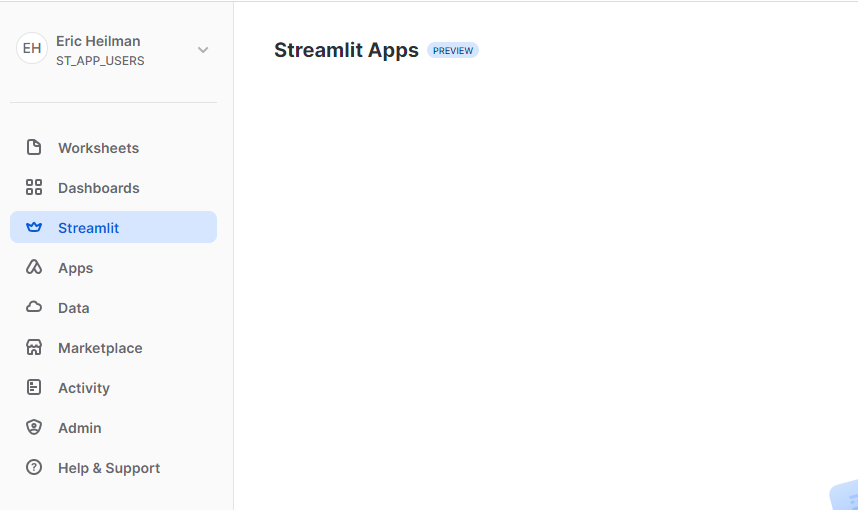
Minimum Privileges for Apps
At minimum, a role will need usage on the Database, Schema and Streamlit objects in order to run the app within Snowflake.
/*SWITCH BACK TO DEMO ROLE*/
USE ROLE ST_DEMO_ROLE;

/*GRANT USAGE ON THE APP*/
USE SCHEMA STREAMLIT_DB.STREAMLIT_APPS;
GRANT USAGE ON STREAMLIT MY_FIRST_STREAMLIT TO ROLE ST_APP_USERS;
--NOT ENOUGH PRIVILEGE FOR THE APP YET--

/*GRANT USAGE ON THE DATABASE*/
USE DATABASE STREAMLIT_DB;
GRANT USAGE ON DATABASE STREAMLIT_DB TO ROLE ST_APP_USERS;
--NOT ENOUGH PRIVILEGE FOR THE APP YET--

/*GRANT USAGE ON THE SCHEMA*/
GRANT USAGE ON SCHEMA STREAMLIT_APPS TO ROLE ST_APP_USERS;
--APP WORKS!--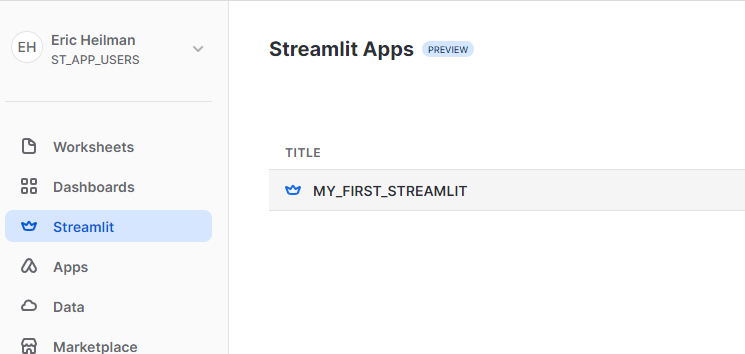
Streamlit is a powerful powerful Python library that can be used to rapidly generate an app both inside and outside of Snowflake. I have used Streamlit locally with VisualStudio code to create a UI for one of my Python utility scripts. In less than 100 lines of code, I had a working UI that reduced the manual commands needed to run my utility.
In this demo, I discussed my preferred method to add a simple native Streamlit app to Snowflake. I created a separate database, schema, stage, and warehouse specific to hosting my Streamlit apps. Additionally, I discussed how to share the app with other users through a role.
In the next installment in this Streamlit series, I’ll show simple ways to add user input items, such as text boxes to the app as well as retrieve session information from the Snowflake instance where the app runs!

Thank you so much! this is great information
LikeLike